Budget Organisation
Cardboard Kitchen Drawer Dividers: When They Work and How to Plan Them
When cardboard drawer dividers make sense, how to plan compartments around what you store, and the safety and hygiene limits to know first.
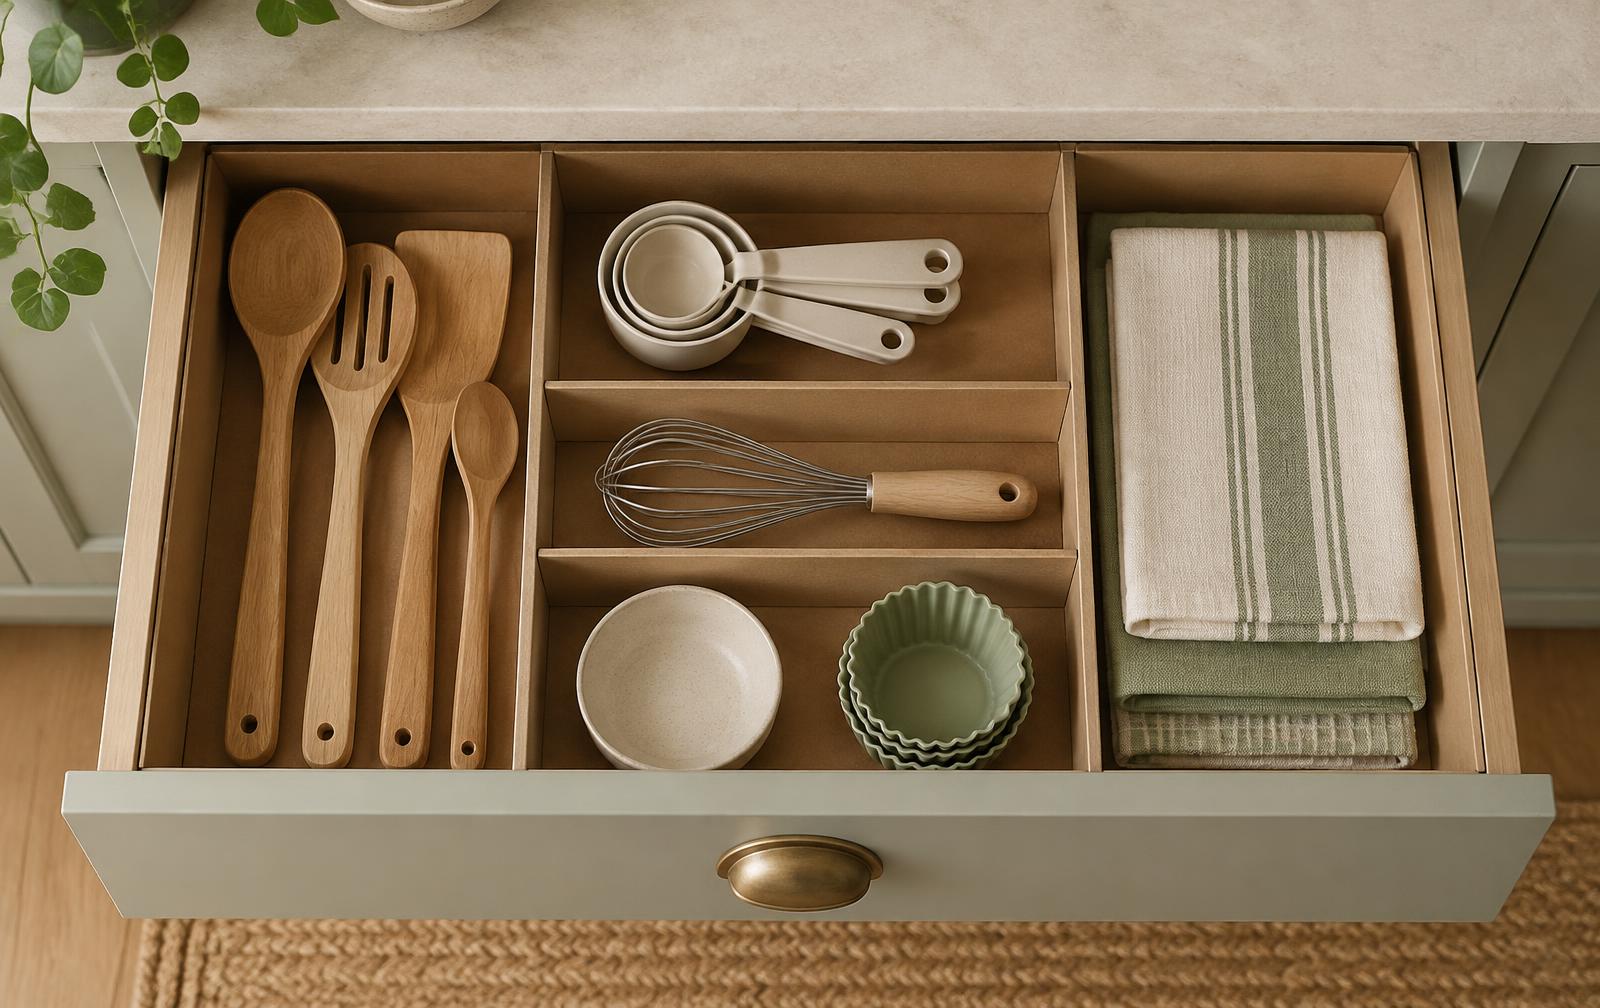
Cardboard can be a quick, low-cost way to separate light utensils and gadgets in a dry kitchen drawer while you work out what layout you actually need. It isn't washable or waterproof, so it suits some drawers and not others. This guide helps you decide whether cardboard fits your drawer, plan sensible compartments, and know its limits before you start.
Is cardboard right for this drawer?
Cardboard is usually reasonable for:
- Drawers of dry, clean utensils, such as wooden spoons, spatulas, measuring spoons and tin openers
- Gadget, foil and wrap, or "odds and ends" drawers
- Trying out a layout before you buy a permanent organiser
Choose something washable instead for:
- Drawers near the sink, dishwasher or anywhere items go back damp
- Food storage or anything that touches food directly
- Drawers that get greasy, or that sit near the hob or oven
- Sharp knives, which are better kept in a block, a purpose-made knife tray or a guard
Choose suitable cardboard
Use only clean, dry, sound cardboard with no food, grease, chemical or damp marks. Firmer corrugated board from a clean delivery box usually holds its shape better than thin card such as cereal boxes. Avoid boxes that have held cleaning products or food. Decorative paper or tape makes it look nicer, but doesn't make cardboard waterproof or food-safe.
Plan the compartments before cutting
- Empty and clean the drawer following its care instructions, and let it dry fully.
- Sort the contents by how you use them, and set aside anything you no longer need. If you're sorting a pantry or food cupboard at the same time, the pantry inventory checklist can help you list what you have.
- Measure inside the drawer: width, depth and usable height. Check the drawer still closes freely at that height, with runners and the frame above it in mind.
- Lay the items out on a table in the drawer's footprint, and mark the groups on paper.
- Sketch the compartments, leaving room for your fingers to pick each item up.
Note your figures on the free measuring worksheet so you're working from measurements, not guesses.
Layout ideas to consider
- Long lanes running front to back for spatulas, tongs and whisks.
- A wide front tray for the small things you grab most often.
- A deeper back section for bulky gadgets you use less.
- Separate small open boxes instead of one joined insert. Each can be lifted out and replaced on its own, which makes cleaning easier.
Tidy Trellis hasn't tested a particular slotted or glued design for this guide, so we haven't given step-by-step cutting dimensions or joint methods. Whatever approach you use, make it easy to lift out for cleaning and inspection.
Safety when cutting
- Cut on a stable surface with a cutting mat or protective board, never inside the drawer.
- Use a sharp tool suited to cardboard and follow its instructions. Keep your other hand out of the cutting path.
- If you use glue or tape, follow the label for ventilation and drying time, and let it dry fully before the insert goes back in.
- Children should only help with cutting and glue under adult supervision.
Common mistakes to avoid
- Compartments that are too tight: if you have to squeeze things in, it won't stay tidy.
- Inserts that are too tall: anything that catches when the drawer shuts will quickly tear.
- Leaving damaged cardboard in place: once it's damp, stained or soft, it's time to replace it.
- Expecting it to last for ever: treat it as a low-cost layout, not a permanent fitting.
Looking after it
Lift the dividers out when you clean the drawer, and check them for wear, crumbs or damp. If a layout works for a few months, that's useful information. You now know the sizes you need if you decide to buy a washable organiser. Set a realistic budget before you buy anything, and use the hidden-storage checklist if the rest of your kitchen needs attention too.
You might also like
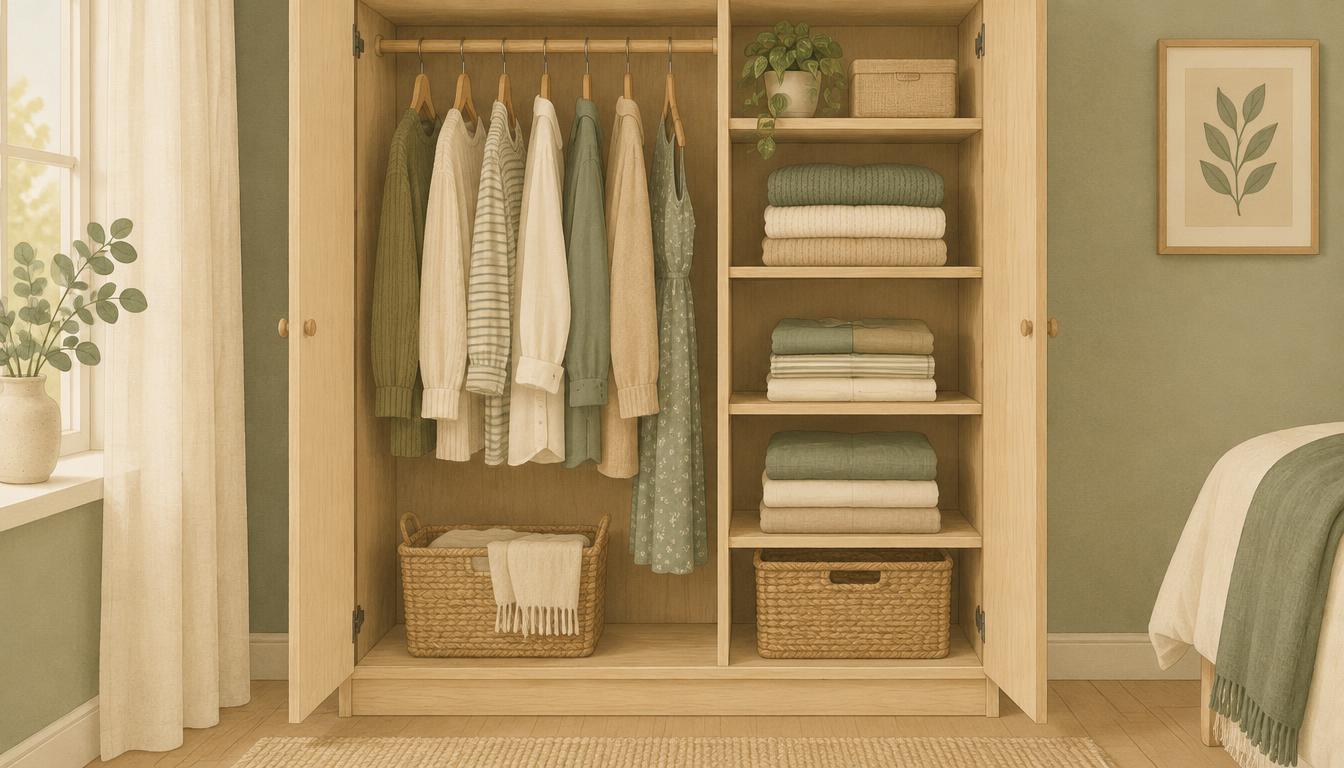
How to Organise a Small Wardrobe on a Budget
Organising a small wardrobe on a budget starts with arranging the clothes you use, not buying a matching set of organisers. Work with the rail, shelves and floor space you already have, and only add storage when you know what it needs to hold.
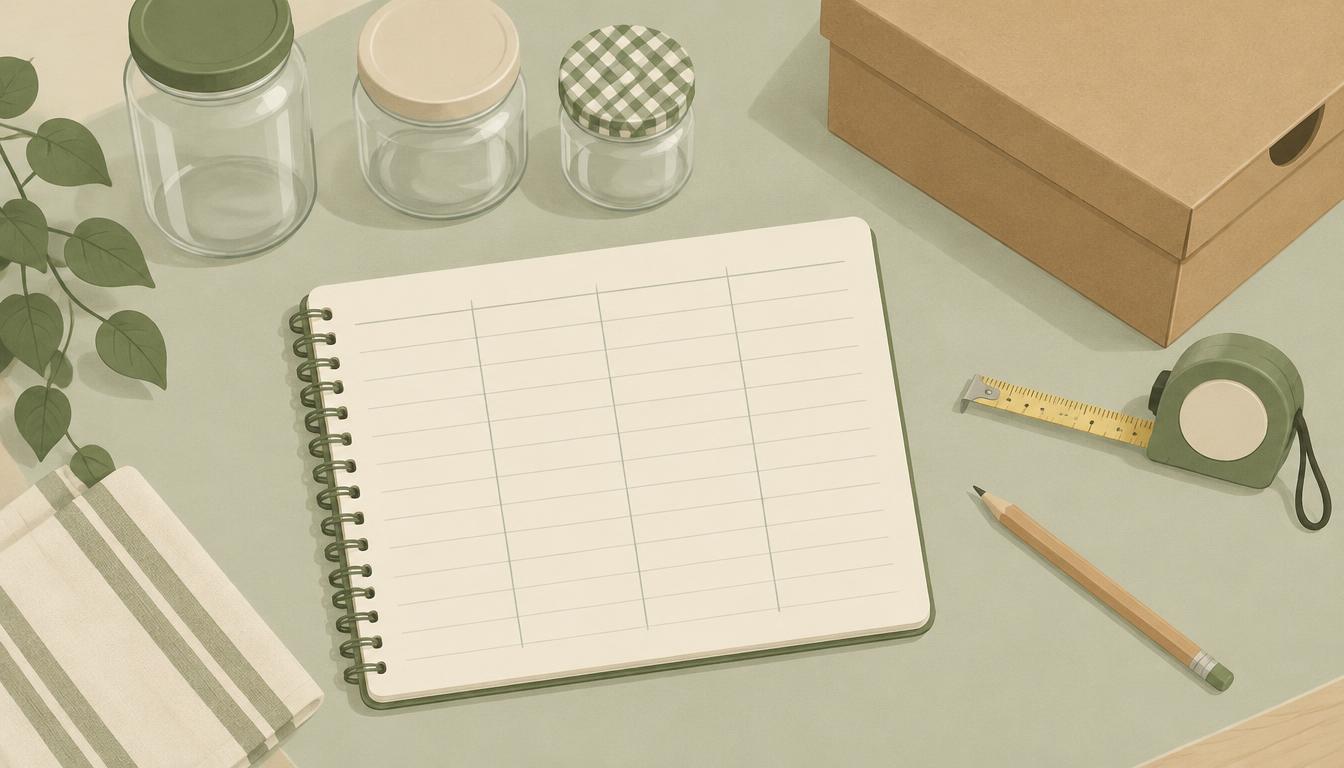
How to Set a Realistic Budget for Small-Space Organisation
A step-by-step way to plan what to spend on organising your home, starting with what you already own.
Make Room for What Matters
Download the free 7-day small-space decluttering checklist — no email address needed.