Small Space Storage
Small Bathroom Organisation: A Practical Planning Guide
A practical planning order for a small bathroom: clear, measure, group, choose damp-proof storage and check safety.
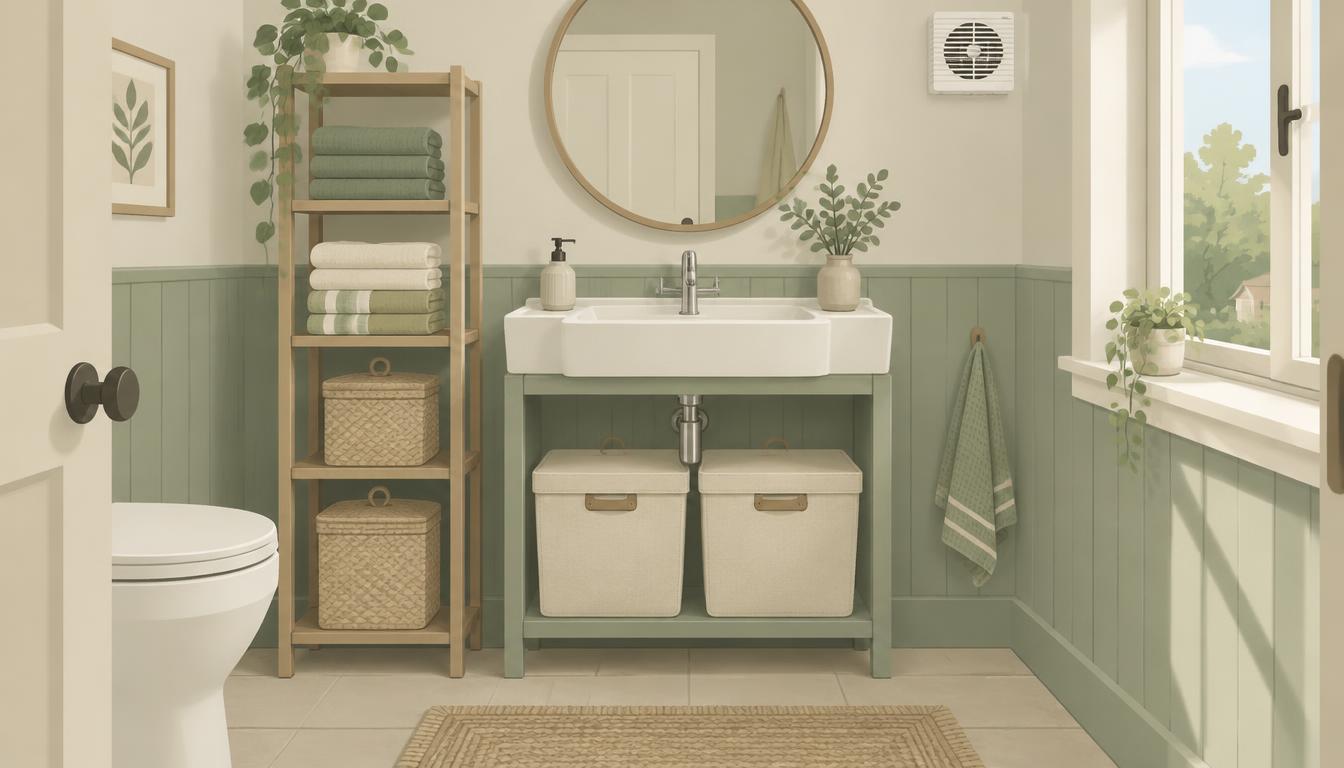
Planning guide — general ideas and checks, not a tested project. We haven't measured or reviewed any specific products for this guide.
Small bathrooms fill up quickly because almost everything in them is used daily, gets damp and has nowhere obvious to live. This guide walks through a simple order of work: clear, measure, group, choose storage that copes with moisture, then check that everything is safe and easy to reach.
1. Clear out before you plan storage
Take everything out of the cabinet, shelves and the area around the bath or shower. Put aside empty containers, products past their use-by or period-after-opening date, duplicates you don't need and anything you no longer use. Check local council guidance before disposing of medicines — many pharmacies accept unwanted medicines for safe disposal.
2. Measure the space you actually have
Use a tape measure and write the figures down before you buy anything. Our room measurement worksheet has space for this.
- Wall space above the toilet, beside the basin and behind the door — width, height and how far anything can stick out without getting in the way.
- Under the sink — internal width, height and depth, noting where pipes and the trap sit.
- Floor footprint for any freestanding unit, leaving room to open the door, use the toilet and step out of the bath or shower safely.
- Door thickness and the gap above the door if you're considering an over-door rack — these racks only work if the door still closes properly.
3. Sort items by how often you use them
Group what's left into three piles:
- Daily — toothbrushes, toothpaste, soap, skincare you use every day. These should be the easiest things to reach.
- Weekly — cleaning products, spare toiletries you're working through, hair tools.
- Back-up — spare toilet rolls, unopened products, first-aid supplies. These can go higher, lower or into another room if space is tight.
4. Choose storage that copes with damp
Bathrooms get warm and humid, and some materials cope with that better than others. When you compare options, check the product description for whether it is intended for bathroom use, and look for:
- Containers you can wipe clean and dry out, rather than ones that trap water at the bottom.
- Gaps or drainage in anything that will hold wet items, such as shower caddies.
- Lids for things that should stay dry, such as cotton pads or spare toilet rolls.
- Space between storage and the wall so air can move.
5. Keep ventilation working
Storage shouldn't block the extractor fan, the window or any air vents. Persistent condensation and mould can be a sign of a wider ventilation problem rather than a storage one. If you rent, report damp or mould to your landlord or agent in writing; the UK Government's guidance for rented housing on damp and mould in the home explains the health risks.
6. No-drill and renter-friendly options
If you can't make holes in walls or tiles, consider:
- Freestanding shelving beside the basin or over the toilet. Check that it stands level, and follow any instructions about securing tall units.
- Over-door hooks or racks for towels and dressing gowns, provided the door still closes.
- Tension rods inside an alcove or under the sink, within the length and load the manufacturer states.
- Adhesive hooks only where the manufacturer says they suit your surface and conditions — many are not designed for tiles that get wet or for heavy loads.
Our guide to questions to ask before a renter-friendly DIY project covers permission, surfaces and removal in more detail.
7. Practical ideas by area
Under the sink
Use open-fronted boxes or small drawers that fit around the pipework, so you can pull items out without knocking the trap. Keep cleaning products in one container you can lift out in one go, and leave access to the stopcock or isolation valves if they're there.
Shelves
Put daily items at about chest-to-eye height and heavier items lower down. Shallow shelves often work better than deep ones because things don't get lost at the back.
Over the door
Hooks or a rack on the back of the door suit towels and lightweight items. Avoid hanging anything heavy enough to strain the hinges or make the door swing on its own.
8. Safety and accessibility
- Store medicines, razors and cleaning products out of reach of children, and keep cleaning products in their original containers.
- Keep electrical items such as hair dryers away from water and follow the manufacturer's instructions for use in bathrooms.
- Don't put anything on the floor that could become a trip hazard, especially near the bath or shower.
- If anyone in your home has limited reach or mobility, keep their daily items at a height they can reach without stretching or bending.
Your bathroom checklist
- Clear out empty, expired and unused items.
- Measure walls, under the sink, floor space and the door.
- Sort items into daily, weekly and back-up.
- List the storage you already own before buying anything new.
- Choose wipeable, well-ventilated storage that suits damp conditions.
- Check nothing blocks the fan, window or vents.
- Check reach, trip hazards and child safety.
- Live with the new layout for a week and adjust.
Free printables: start with the 7-day decluttering checklist and the room measurement worksheet linked in step 2.
For more ideas, see vertical storage ideas for tiny rooms and our wider small space storage guides.
You might also like
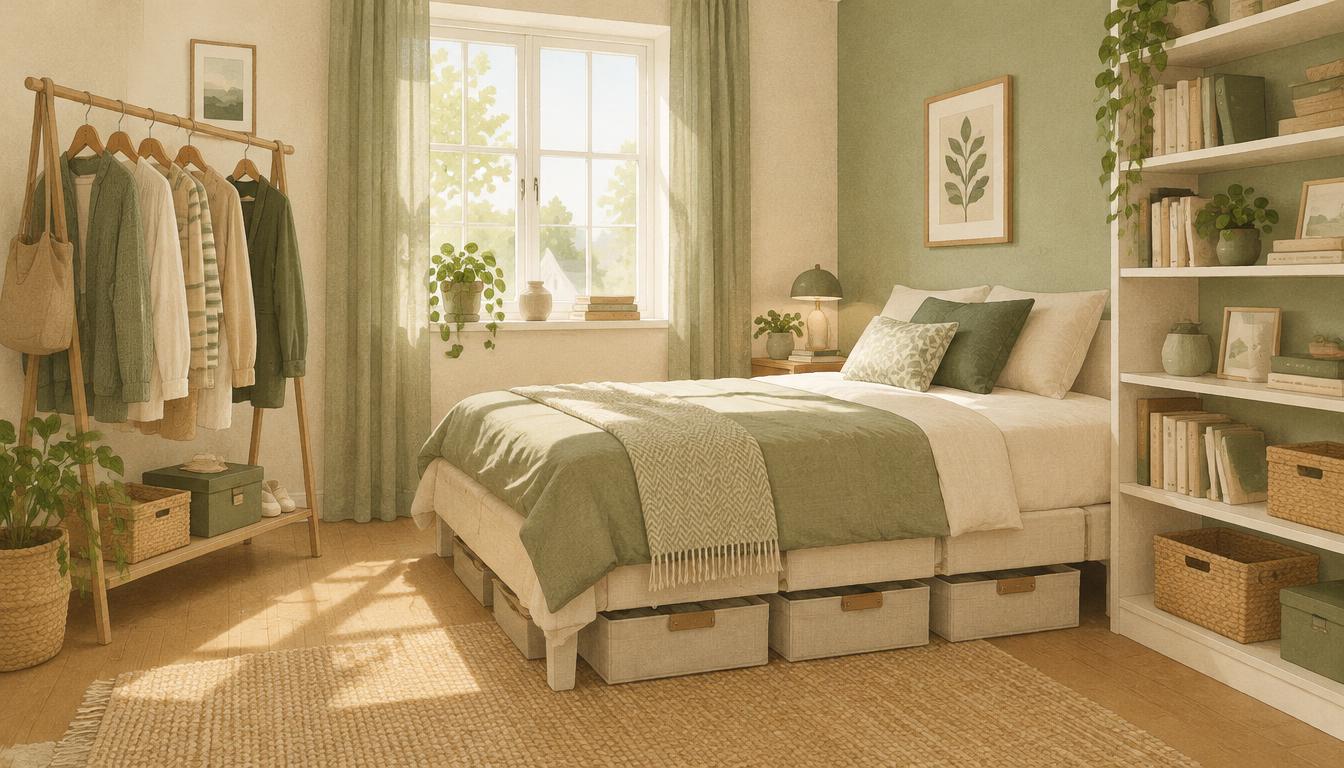
DIY Storage Ideas for a Bedroom With No Closet
Explore seven practical storage ideas for a bedroom without a closet, with options for hanging clothes, folded items and accessories, plus fitting and safety checks.
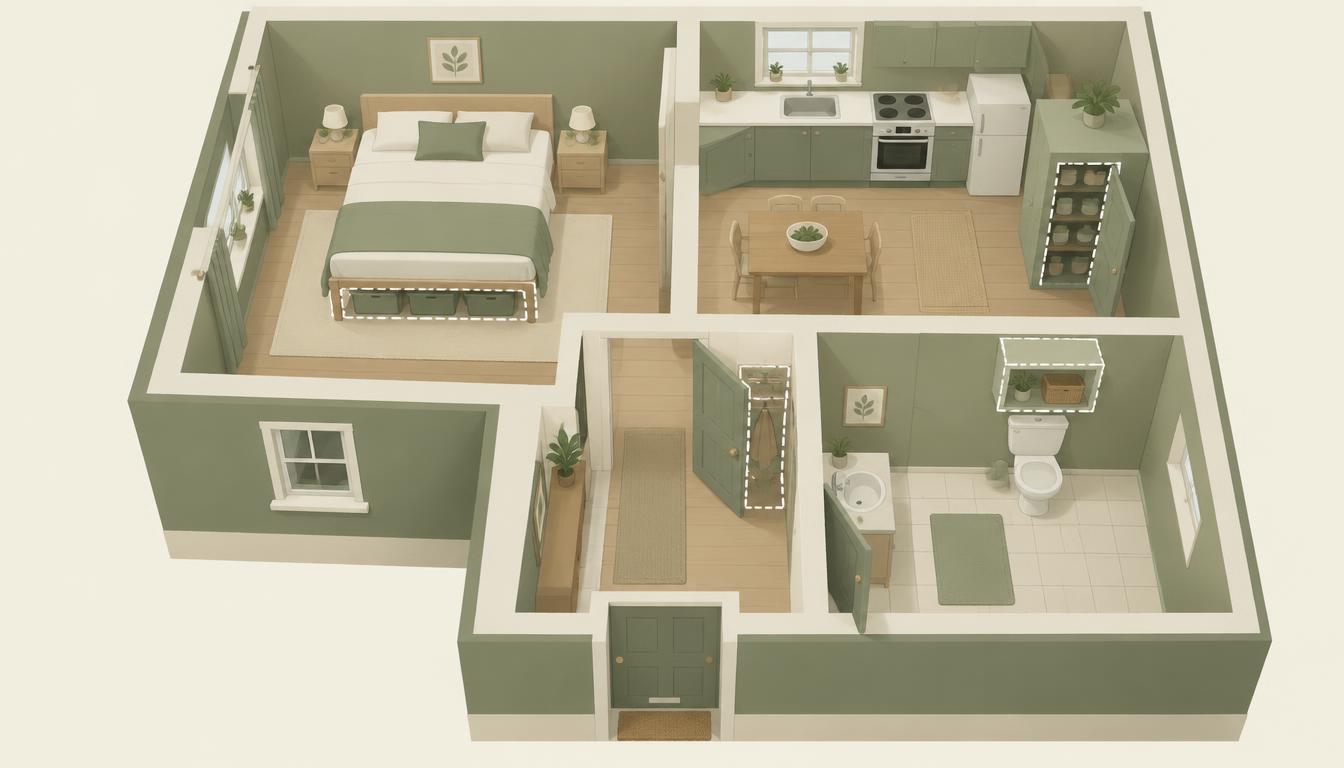
Where to Find Hidden Storage in a Small Home: A Room-by-Room Checklist
Walk round your home room by room and find the storage space you already have, before buying anything new.
Make Room for What Matters
Download the free 7-day small-space decluttering checklist — no email address needed.