DIY Projects
Vertical Storage Ideas for Tiny Rooms: What Goes Where
Work out which walls in a tiny room can safely take storage, which heights suit which items, and when to choose shelves, towers, pegboards or over-door options.
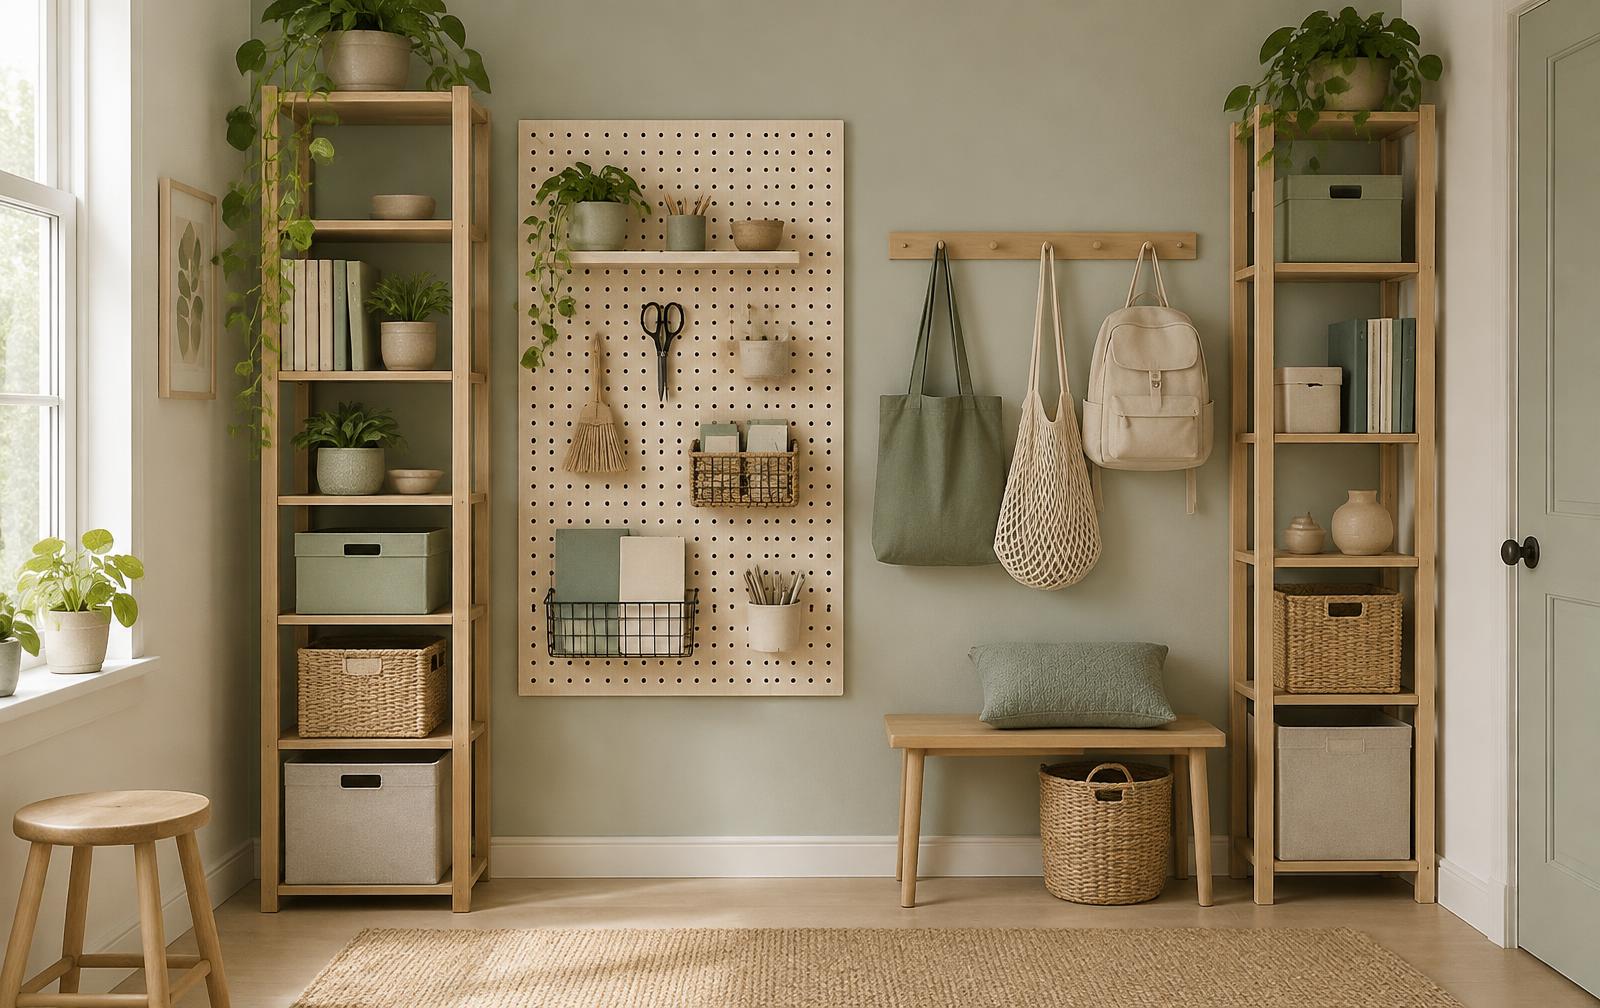
When floor space runs out, wall height is often the most useful space left in a small room. Using it well isn't about filling every wall. It's about choosing storage you can reach, that stays stable, and that doesn't get in the way of doors, windows or walkways. This guide helps you work out where vertical storage makes sense and which option suits each spot.
Step 1: Find the wall space you can actually use
Stand in the room and note each wall section that isn't already taken. Then rule out the areas that should stay clear:
- The swing of doors and windows, including wardrobe and cupboard doors
- Above and around radiators, heaters, sockets, switches and vents
- Walkways and the route out of the room
- Spots where a shelf would hang over a bed or sofa where people sit or sleep
For each section that's left, record width, height and how far storage can come out into the room before it gets in the way. The room measurement worksheet has space for this. Depth matters as much as height: a shallow shelf you can walk past is often more useful than a deep one you keep bumping into.
Step 2: Divide the wall by how often you use things
Think of the wall in three bands, based on your own reach rather than a set measurement:
- Easy-reach band, roughly between hip and shoulder height: for things you use every day.
- Low band: for heavier items, so you aren't lifting them above your head.
- High band: for light things you rarely need, in containers you can lift down safely. Needing a step stool is a sign the item belongs here, not in daily use.
Keeping heavy things low helps with handling, but it isn't a substitute for any anti-tip fixing the furniture requires.
Step 3: Match the option to the spot
Tall, narrow bookcases or shelving towers
Good for: a narrow strip of wall where you want shelves without drilling many holes. Check: almost all tall freestanding furniture comes with an anti-tip restraint, and it should be fitted as instructed. If you can't fit it, for example because you rent and don't have permission, choose a lower unit rather than leaving the restraint off.
Wall-mounted shelves
Good for: using space above a desk, dresser or door without taking up floor space. Check: the right fixings depend on what the wall is made of (solid masonry, plasterboard or something else), the shelf and the weight you plan to put on it. Don't assume the fixings in the box suit your wall. Check for hidden pipes and cables before drilling, and get competent help if you aren't sure.
Pegboards and rail systems
Good for: small, light tools, craft supplies or accessories you like to see at a glance. Check: they need the same care with fixings as shelves. Follow the manufacturer's instructions and load guidance. Tidy Trellis hasn't tested a pegboard build, so this guide gives no spacing or load figures.
Over-door organisers
Good for: shoes, accessories or cleaning supplies behind a cupboard or bedroom door. Check: door thickness, the gap at the top, and that the door still closes and latches. Don't fit them to fire doors or doors with closers. In a bathroom, choose materials that cope with damp — our small bathroom planning guide covers this in more detail.
Tension rods and poles
Good for: light items in an alcove or between two solid surfaces the product is designed for. Check: stay within the stated limit and keep fragile or heavy items elsewhere, because tension products can slip.
Adhesive hooks and strips
Good for: very light items on smooth surfaces. Check: they are never a substitute for structural fixings or furniture anchors.
Step 4: Organise the shelves once they're up
- Group small items in containers so a shelf doesn't turn into a jumble.
- Label the front of any container on a high shelf.
- Avoid stacking boxes so deep or so high that you have to unpack a shelf to reach the back.
- Leave some empty space so new things have somewhere to go.
Common mistakes to avoid
- Assuming tall means more space: freestanding units still take up floor space and need room in front to be used.
- Skipping anchors on "leaning" shelves: a leaning look doesn't mean the unit can go without a fixing, unless the manufacturer specifically says so.
- Filling the high band with everyday items: if you need a step every day, the system won't last.
- Blocking light and airflow: shelves across a window or radiator create new problems.
If you rent
Check your tenancy agreement and ask permission before drilling, especially for furniture anchors and wall shelves. If permission isn't given, choose lower freestanding storage that is safe without fixing, or keep to over-door and inside-cupboard options. The renter-friendly DIY questions can help you plan the conversation.
Start with one wall
Pick the wall section that would solve your biggest daily problem, make one change and use it for a week. Check that doors still work, items are easy to reach and nothing feels unsteady before you add more. If you still need space after that, the hidden-storage checklist covers other places to look, and you can set a realistic budget for what's left.
You might also like
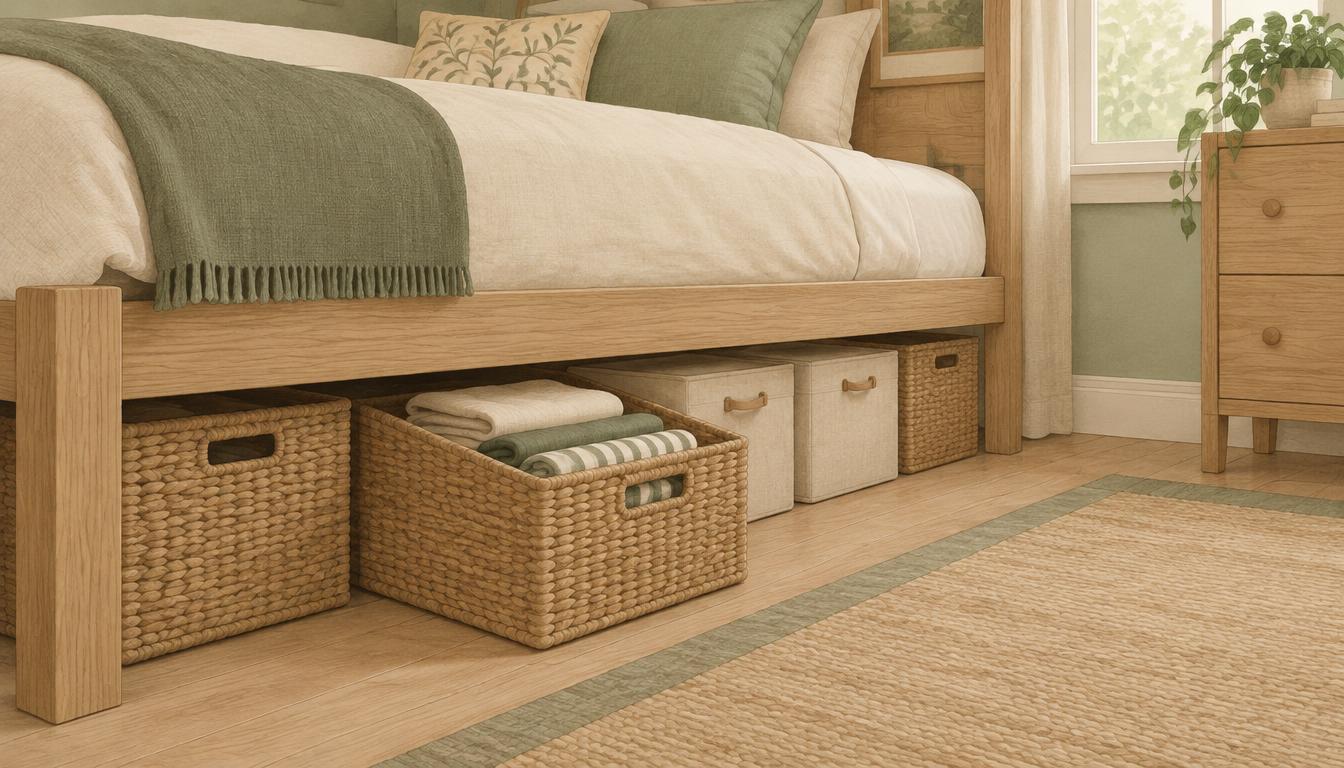
Under-Bed Storage for Small Bedrooms: Measure, Choose and Organise
How to measure the usable space under a bed, choose containers that fit through the gap, and decide what is worth storing there.
Start Here: Making the Most of Your Small Space
New here? This page points you to the most useful places to start: quick wins, project planning, renter-friendly DIY, storage guides and free printables.
Make Room for What Matters
Download the free 7-day small-space decluttering checklist — no email address needed.